Table of Contents
Workflow Settings
When the workflow is opened in the Processes menu, the button <Workflow settings> can be used to configure various settings specifically for this workflow. Release workflow for all users. Workflow st…

When the workflow is opened in the Processes menu, the button <Workflow settings> can be used to configure various settings specifically for this workflow.

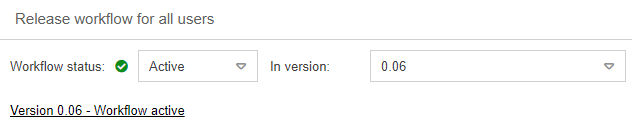
Release workflow for all users
Workflow status
In the area "Release workflow for all users", the workflow status can be set.

Status | Description |
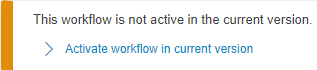
Active | After activation, the workflow can be accessed on the start page in the "My applications" window, in the main menu, as well as in the "Cases" menu via the <Create> button. In order for the workflow to be accessible, it is essential that the setting "Process is available at Start page and Cases" is activated in the advanced settings! (see below) Working with this workflow is now possible for all users who have been assigned a product license and an authorization profile that allows them to work on cases. In the Rights workflow participants area, special access rights can be assigned, which replace the general access rights from the authorization profile for this workflow. As long as a workflow is not yet activated, a note is displayed above the process model that contains a link to activate the workflow for the users.  An activated workflow is also available in reporting and will be listed in the selection list for a new report for cases. |
Inactive | An inactive workflow is no longer available for creating new cases. The workflow is also no longer available for evaluations in reporting. Although the existing cases of the workflow are not deleted, they cannot be evaluated if the workflow is inactive. A test case can be started for an inactive workflow at any time. |
Version
In the "In Version" field, you can set in which version the workflow should be active. The default setting "Actual version (working copy)" refers to the last saved version of the workflow configuration. However, any previously saved version of the workflow can also be activated in the list.
Customize workflow during production run
First, activate the exact version in which the workflow should be active. You can then make changes to the workflow. When these changes are completed, you can activate the latest version again.
All newly created and not yet completed cases of this workflow will then be based on the new version that you have activated.
The activated version is clearly displayed in the settings.
It is also indicated above the process model that a particular version of the workflow has been activated.
The <Start test case> button can be used to start a test case in the latest version (working copy) of the workflow. The addition [Test] is added to this test case in front of the case number.
Display options
Display in "New case" (in cases menu) | A new case from this workflow can be started in the cases menu via the button <New case>: |
Display as module | The workflow can be added as a button in the menu on the left side of the screen: 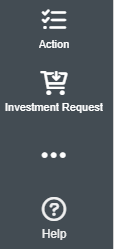 |
Show only for users with create rights | The menu button can be made accessible either to all users or only to those with create rights |

Workflow symbol
A separate icon can be defined for each workflow, which will be displayed on the start page and in the application menu of this workflow.
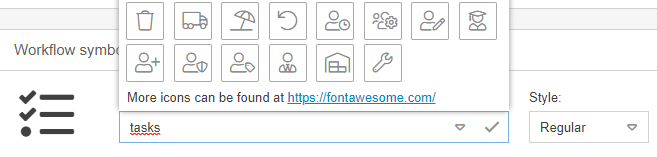
Either one of the sample icons can be selected from the drop-down menu or an extended list of available icons can be called up on the website https://fontawesome.com/icons.
In the second case, the name of the desired icon is entered from the website into the "Symbol selection" field and the style "Solid", "Regular" or "Light" is selected. Clicking on the checkmark confirms the selection.
Rights workflow participants
In the Rights workflow participants window, access rights can be assigned for this particular workflow. The settings for this window are explained in a separate article.
Advanced settings
If workflow is released
For an activated workflow, advanced settings can be made.

Setting | Description |
Process is available at Start page and Cases | Only if this option is enabled, the workflow will be displayed on the start page in the "My Applications" window, in the main menu, as well as in the "Cases" menu via the <Create> button. |
Signature required for data input | Option "Additional password request when entering data" If this option is enabled, the editor of a task is required to re-enter his user password (signature) when saving a task. This function must be activated for each form in which this function is to be available. Thus also in the workflow settings of a task, if a certain task is to be confirmed again by a password. Use this function if you want a signature for your workflow for the processing of tasks. The signed task will then also be displayed in the optional Audit Trail module. Option "Signature using signature field" If this option is enabled, a signature field is displayed after clicking "Save", which must be filled in and confirmed. 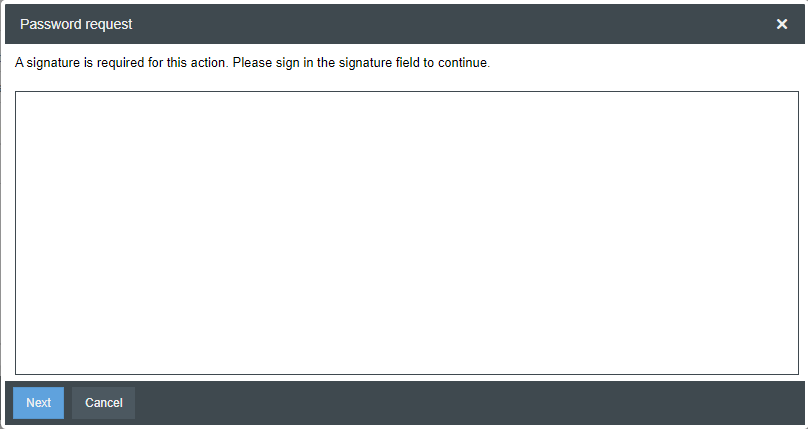 The signature of the user who last saved the details of the case or task is displayed in the case window. |
Special workflow | With this selection list the workflow is defined as a special workflow in SmartProcess. Do not make any changes in this field without prior consultation with CWA! A change can lead to the failure of existing standard workflows, such as the approval workflow. |
Deletion period for completed workflows (days after completion) | All completed cases of this workflow will be automatically and irretrievably deleted from the database after the specified number of days. The function is triggered once a day and, when activated, also deletes case retroactively. |
Further settings

Case settings
Show similar cases
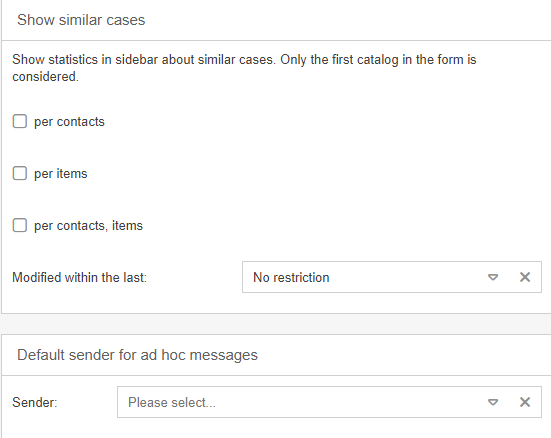
The display of similar cases can be activated in the case settings. If at least one of the checkboxes has been activated, the number of similar cases is displayed in the case window.

The display of similar cases can refer to different data:
- Per contacts -> the prerequisite is that contact fields have been inserted in the form. If there are already cases of this type for the selected contact, it will be displayed as a similar case.
- Example: In a complaint case, the company Müller Maschinen GmbH is selected as the customer. There are already 2 other complaint cases, where also the customer Müller Maschinen GmbH has complained something. So the repetition per contact = 2 is shown in the case window.
- Per items -> Prerequisite is that catalog fields have been inserted in the form. If there are already cases of this type for the selected catalog entry, this will be displayed as a similar case.
- Example: In a complaint case, "cable ties" is selected from the catalog as the complained article. There are already 50 other complaint cases in which the article "cable ties" was also selcted from the catalog. So in the case window the similar cases per item from catalog = 50 is displayed.
- Per contacts, tiems -> Prerequisite is that contact fields and catalog fields have been inserted in the form. If there are already cases of this type for the selected contact in combination with the selected catalog entry, this will be displayed as a similar case.
- Example: In a complaint case, the customer Müller Maschinen GmbH and the article "cable ties" from the catalog were selected. There is already 1 complaint case in which the customer Müller Maschinen GmbH has also complained about the article "cable tie". So in the case window the repetition per contact / item = 1 is displayed.
In addition, a time period can be selected from which the display of similar cases is to be generated, e.g. if only the complaints for the article "cable tie" that were created in the last 12 months are to be included when determining the similar cases.

Default sender for ad hoc messages
It is also possible to set a default sender for ad-hoc messages. In the selection list "Sender" all configured e-mail accounts are listed, from which the default sender can be selected.
Additional linkable subcases
In the activity list of a case, existing activities from other cases can be linked via the <+ New> button. For example, an audit question that has already been assessed and given a finding in an audit #1 can be linked into an audit #2 if the item is also relevant to audit #2.

In the standard, this linking is only possible with directly subordinate activities.
With the setting Additional linkable subcases, it is now possible to select that in the activity list the linking of further subordinate activities, such as actions to audits, should also be possible.
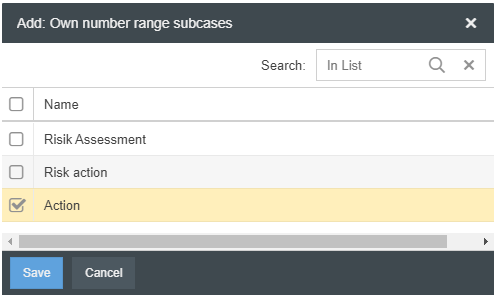
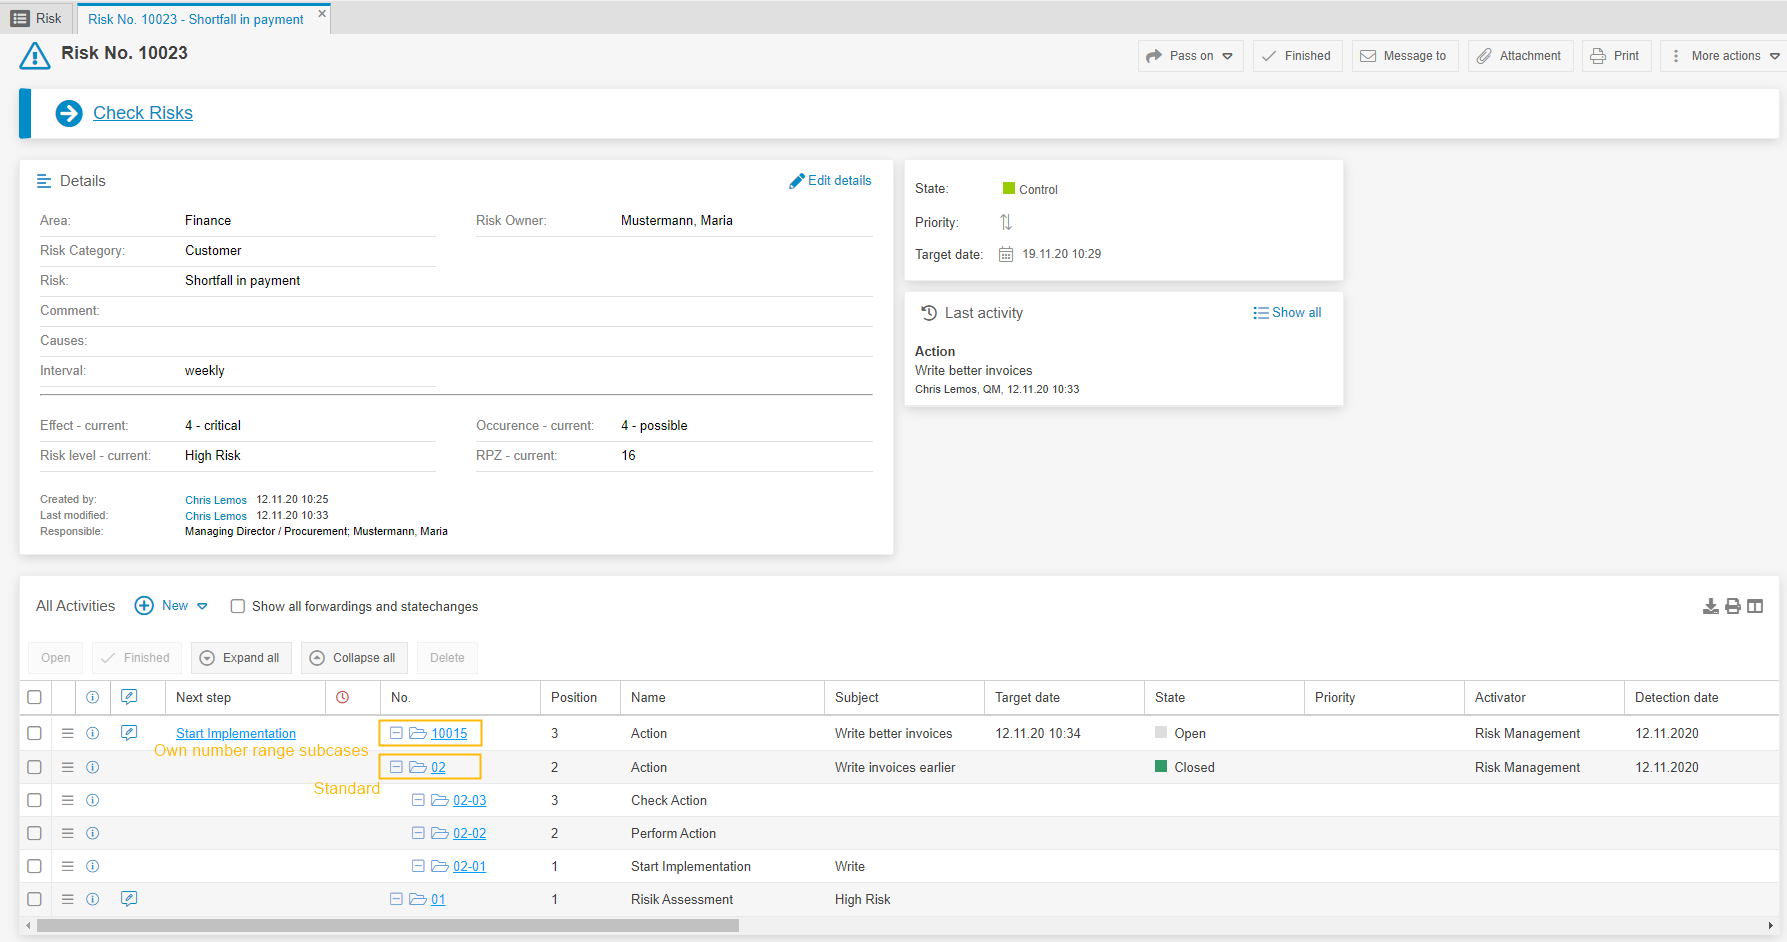
Own number range subcases
The <Own number range subcases> button can be used to select sub-tasks of the workflow whose case number is to follow its own number range.
(e.g. action no. 12345-03 derived from risk no. 12345).

Via <Add> the selection list of the existing subcases is opened, from which the desired subcases can be selected.
In the activity list of the case, this sub case type is now numbered with its own number range instead of a simple consecutive number.
Disable workflow functions

The workflow functions can be deactivated via the <Disable workflow functions> button. After that the object behaves like a normal process again without forms, workflow settings and workflow engine.
How did we do?
Process model of a workflow
Rights workflow participants