Table of Contents
The case window
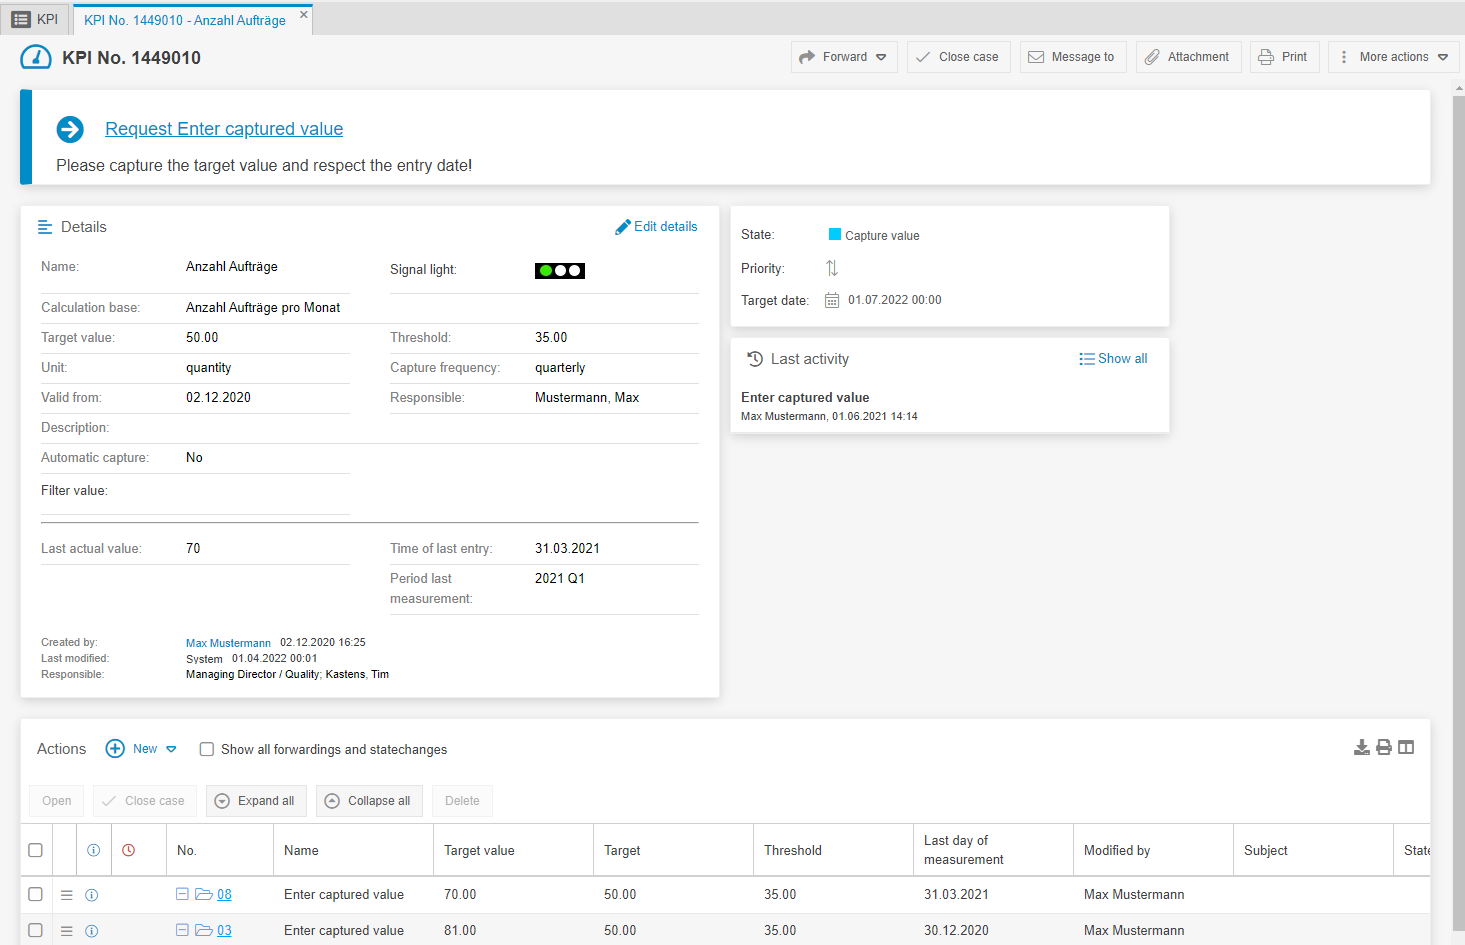
The case window displays the details and activities of the case and opens as a tab. In addition to the name of the case type and the unique case number, the main menu of the case is displayed on the…

The case window displays the details and activities of the case and opens as a tab.
In addition to the name of the case type and the unique case number, the main menu of the case is displayed on the right-hand side.
Main menu of the process

Menu entries
  | The button <Accept> is only displayed in a case if the case is not directly assigned to a user, but only to an organizational chart object to which the user has been assigned. With this button the user can accept the unassigned case, so that it is directly assigned to the user. If a case has been accepted, the button <Reject> appears, which can be used to return the case to the org. chart object. The direct assignment to the user is thereby removed. |
   | With the button <Redirect to...> the case can be forwarded to a user or an organization chart object. The forwarding can be extended by a comment for the recipient of the case. 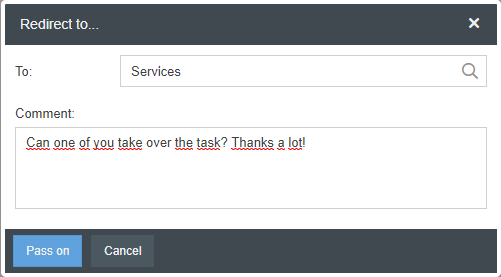 Depending on the authorization profile, a case may only be forwarded to users who are assigned to the same organizational chart object. If the button is displayed as a selection list, the process can be sent back to the last editor. |
 | The button <Close case> closes the case. The case can then no longer be edited and can only be opened in reporting with the appropriate authorization. Via reporting it is possible to reopen the case. |
 | With the button <Message to> e-mails can be sent out of the process. On the right side you find preconfigured text blocks that can be defined in the settings under Text modules - Case e-mails. In addition, signatures can be defined in the administration, which can be selected in the drop-down field Signature in this window and added to the e-mail text. 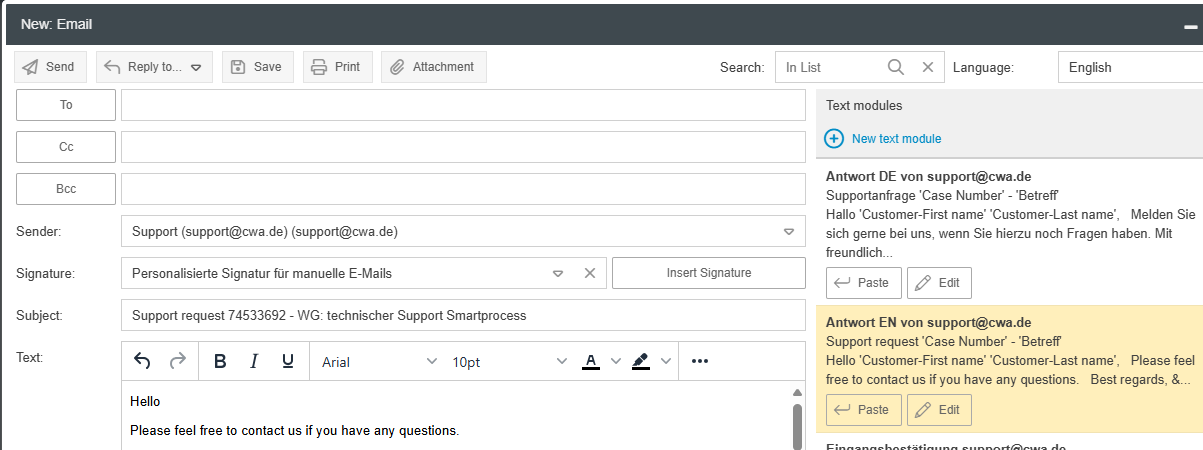 The <To>, <Cc> and <Bcc> buttons to the left of the recipient fields open the contacts directory, which can also be used to call up the internal users. Alternatively, one or more e-mail addresses separated by a semicolon can be entered manually. Click on With the button <Attachment> one or more attachments can be added to the e-mail. E-mails sent from the case are stored in the activity list of the case. |
 | With the button <Attachment> you can attach any files to the process. 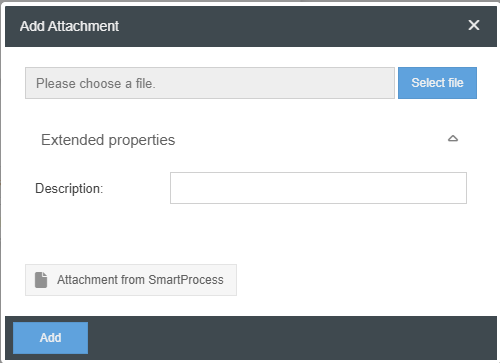 With the <Attachment from SmartProcess> button, a file attachment of a document from SmartProcess can be added to the process. |
 | The button <Print> creates a PDF document that contains all information of the case. Depending on the configuration of your browser, the document will be opened directly or a dialog box will be displayed where you can save the PDF document. As an alternative to the standard printout, you can optionally define an individual Word template for the printout, which appears at the top of the menu. The Word Report Designer module is required for this function. This is then available in the settings to store Word templates for the case type. |
 | The button <More actions> opens a context menu with further functions. (See below) |
 to select the email you want to reply to from all the emails in the case history. The e-mails listed are sorted by date of creation. The content of the selected e-mail is added below your text.
Menu "More actions"
 Via the button <Request activities / statements> you can request an activity from another organizational unit or another user. 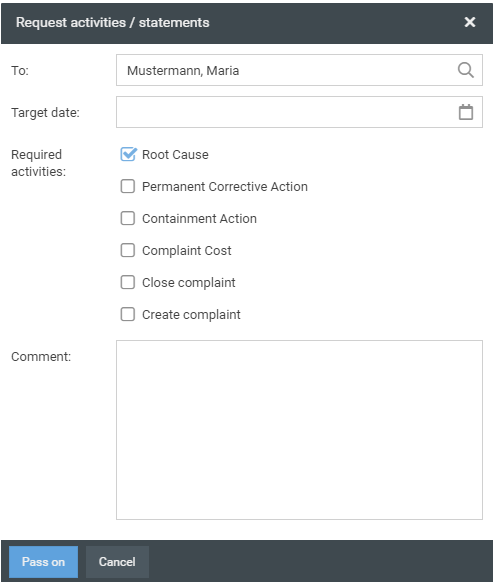 After you have selected a recipient via the "To" field, you will be presented with a selection of activities that may be created by the recipient. You can use the checkboxes in the "Required activities" section to select which activities you want to forward to the recipient or 'request' from him/her. |
 With the button <Link / Create new> you can link the task with already existing tasks. It is also possible to create new cases to which a link is created. 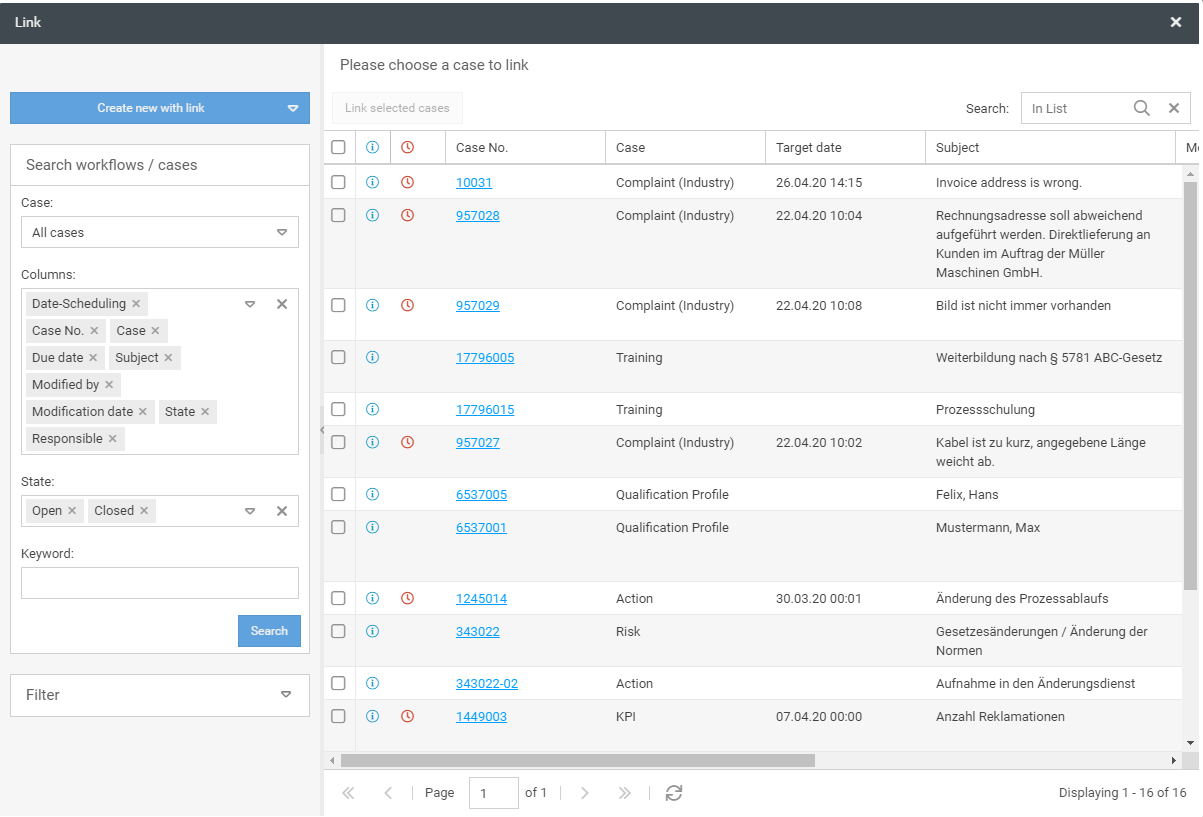 |
 With the button <Delete> you can set the case to the status "Deleted". This means that the transaction can no longer be edited. In reporting, cases with the status “Deleted” do not appear in the evaluations by default, but must be explicitly selected in the Status field. You can therefore evaluate and restore deleted cases here. |
 With the button <Show changes> you can display a history of the case. In the history, all fields are displayed with their changes, the processor and the date of change. |
 With the button <Copy> you can copy the task including all activities. If you copy a case that already has activities in the activity list, these activities are also copied. |
 With the button <Resubmission> you can enter a resubmission date and then sort it in the "My cases" list if the "Resubmission" column is configured. In addition, the modification date is updated so that the case is displayed at the top of the list. |
 Via the button <Print case with customer relevant activities> you can print the entire process with all attachments. |
 Use the button <Create New> to create a completely new case without saving a link to the existing task. |
The task area

The next task to be executed is always displayed above the case details. If a workflow hint has been defined, it is displayed under the task name.
The case details
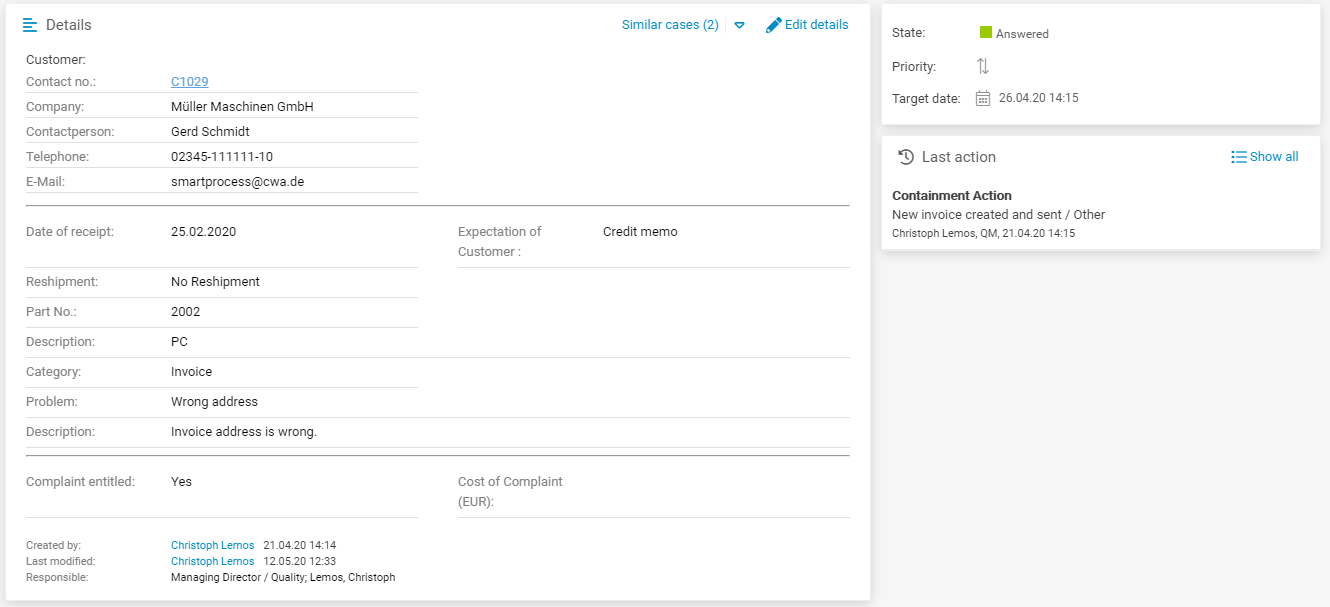
The completed main form of the transaction is displayed in the transaction details. These can be edited via the button <Edit details>.
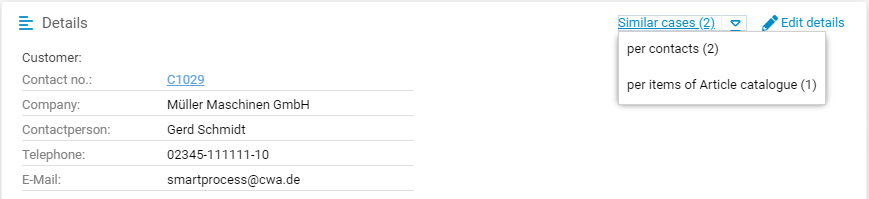
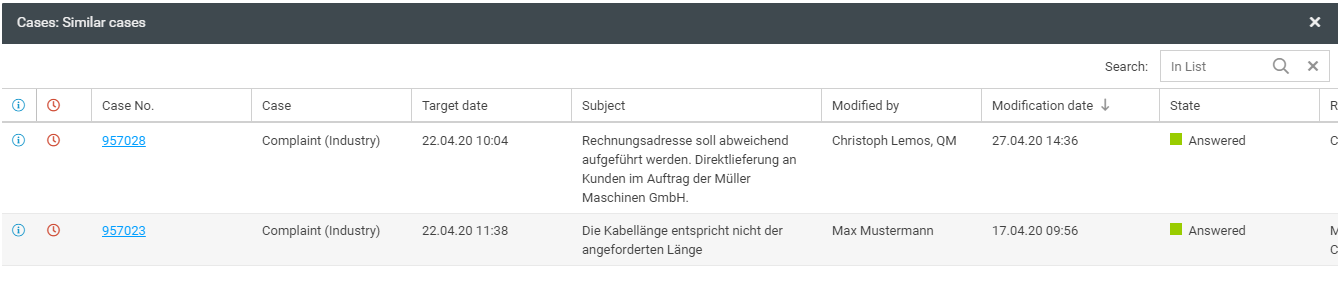
If it has been activated in the workflow settings that similar cases should be displayed, this hint is displayed next to the button <Edit details>.
At the bottom of the details window, you can see who created the case, when it was created and who last changed it. Most importantly, it shows who is currently responsible for the case.

If no user is displayed, the case is not assigned to an organizational unit or role.
Next to the details there is a window that shows the status, the priority and the next appointment.
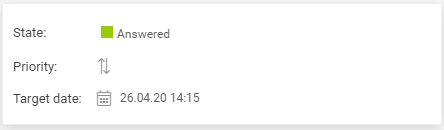
With the appropriate permissions, the status of the process can be changed in the "State" field in this window.
If a status is changed manually, this may mean that the case can no longer be processed as configured.
In the "Priority" field, the priority of the operation can be changed manually.
The field "Target date" can be used to call a target date list that displays all target date automatically calculated by the workflow through a timer object for the corresponding statuses.
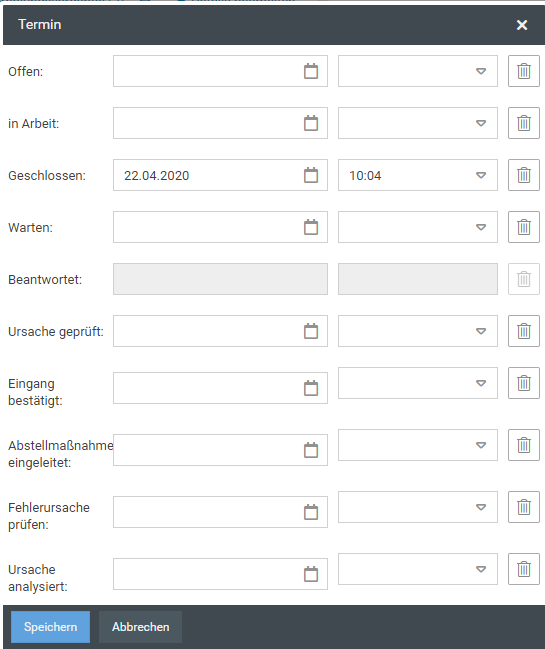
No new date can be set for statuses that the operation has already passed.
If a date is changed manually, this can mean that the case can no longer be processed as configured.
Forwarded
If the case has been assigned to another user or an Org. Unit via the main menu item Redirect to and a comment has been entered for the forwarding, this is displayed in a separate box.

Reports and prints

The "Reports and prints" window displays all report templates that have been created in the Word Report Designer for printouts for this transaction type.
By clicking on one of the displayed reports, it can be opened or downloaded.
Last activity
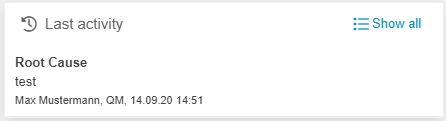
The "Last activity" window displays the last activity performed. You can enable and disable the display of this window in the Form Designer.
With the button <Show all> the activity list can be opened in a separate window.
Attachments
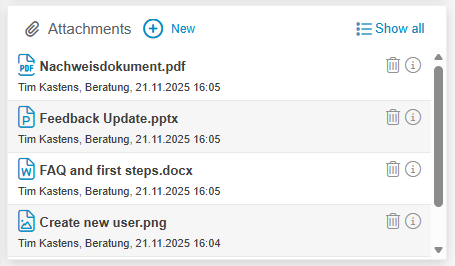
The Attachments window lists the attachments that have been added to the case. The Attachments window also lists the attachments added to an activity or a sub-process.
With the button <+ New> or in general via drag and drop in the case window new documents can be added and attachments can be deleted again with the trash can icon.
Via the (i)-symbol the attachment information can be opened and a description can be inserted in the properties.
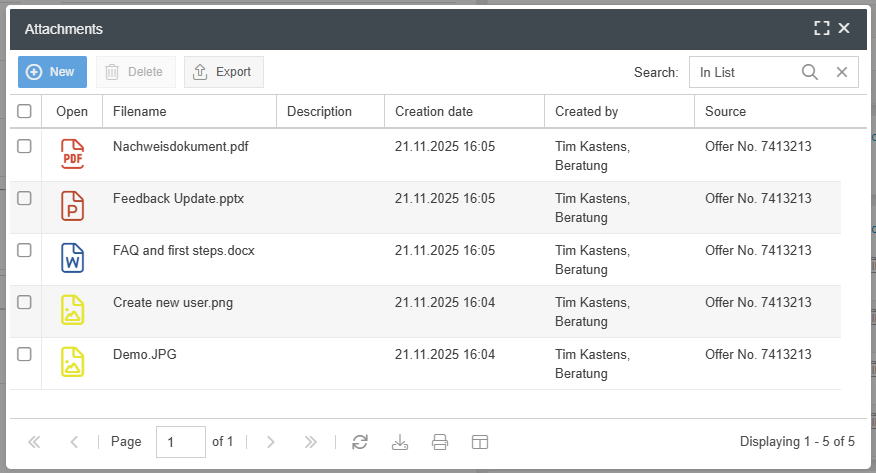
With a click on <Show all> a separate window will show a list of all attachments. From there, you can delete or export multiple attachments at the same time:
The activity list

The activity list lists the activities and sub-activities performed.
The list can be divided into tabs per activity, provided this has been defined in the form designer.
Ad hoc Aktivität anlegen
New activities can be added to the activity ad hoc using the button <+ New>.
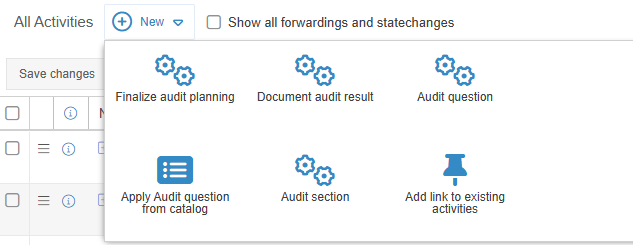
Create activity from catalog
If a catalog is linked via catalog fields in a task or sub-workflow, a new activity can be created from a catalog entry. This function opens the linked catalog and one or more entries can be selected from the catalog. For each selected entry in the catalog a new activity is created in which the catalog fields are already filled in. (Example: Audit Workflow)

Link existing activities to the activity
Using the button <Add link to existing activities>, existing activities from other activities of the same type can be added to the task.
Display operation history
With the checkbox "Show all forwardings and statechanges", you can display the forwardings and sate changes that are hidden by the standard definition, so that you can follow the progress of the case in the activity list.
How did we do?
Creating a new case