Table of Contents
Saved reports
If a certain evaluation is to be carried out at regular intervals, the report configuration can be saved and then executed again with a mouse click. This works for reports for processes and documents…

If a certain evaluation is to be carried out at regular intervals, the report configuration can be saved and then executed again with a mouse click.
This works for reports for processes and documents as well as for reports for cases in all variations (list, diagram, crosstab).
A saved report can be used, for example, to regularly check whether artifacts with the same name were accidentally created twice in the process modeling or how many complaint cases were created in the previous month.
Save report
A report can be saved via the corresponding button after it has been executed via the Display report button.

After clicking the button, a window will open. Regardless of whether a report is saved for processes / documents or for cases, the options are identical.
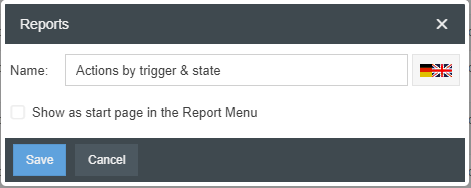
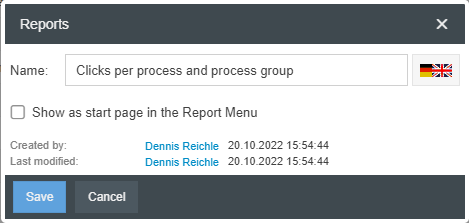
Name | The name of the saved report can be entered in all activated system languages. The report will then appear under this name in the list of all saved reports. |
Show as start page in the Report Menu | If the checkbox is activated, every user who opens the Reporting menu after logging in will immediately see the results of this report. Only one saved report can be designated as the menu start page for all users of the system at a time. To select this option, the permission to share reports with other users is required. |
To give other users access to the saved report, you can share it.
Overwrite a saved report
Once a report has been saved, it can be edited by the creator at any time.
To do this, execute the saved report once with a mouse click. Then click <Change report options>. Now proceed as described above for creating a new report. Adjust the filters according to your requirements and then click again on <Save report>. In the window that opens, change the name for the report if required and confirm again with <Save>. A new window appears.
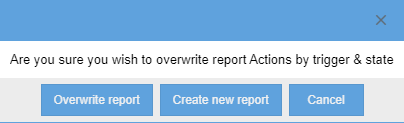
If you click <Overwrite report>, the previous configuration of the saved report is replaced by the newly set filtering.
If you click <Create new report>, the previous saved report is retained and the changed filtering is saved as a new additional report.
Display and arrangement of saved reports
The saved reports are displayed at different positions in the tool:
Display in the Reporting menu
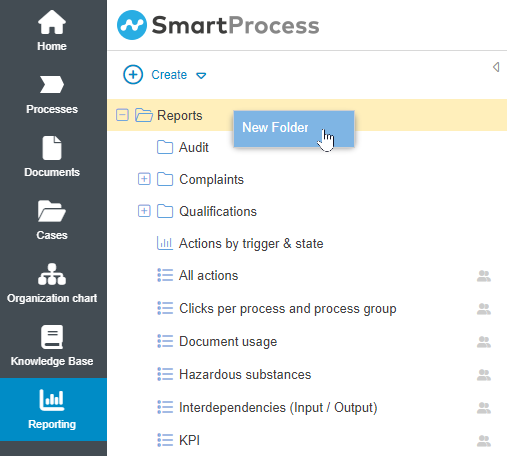
In the navigation area of the Reporting menu, all available reports are displayed to the user in alphabetical order. These can be executed by left-clicking.
With a right click on the top folder <Reports> new folders and subfolders can be created. The saved reports can be moved into these folders by drag & drop for a better overview.
- Folders created by the user himself are always shown to him.
- For folders created by other users, the display depends on the reports stored in the folder. If the user is allowed to see at least one report stored in the folder, the corresponding folder will also be displayed to him.
Display in other menus
Depending on the data to which the saved report refers, it will also be displayed in other menu items.
For example, saved reports that refer to data from processes are displayed in the Processes menu in the Lists and Reports section of the Process Explorer. They can also be executed directly from there without having to switch to the Reporting menu first. A saved report that refers to data of the workflow Action is also displayed in the navigation area of the menu item Action.
Display on the start page
Saved reports can be displayed in two separate elements on the start page.
Window Reports (List)
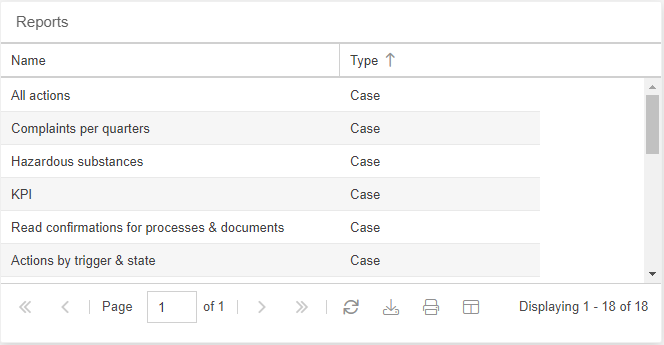
In this window all saved reports are displayed in the form of a list. Clicking on the name of the report switches to the Reporting menu and displays the report result.
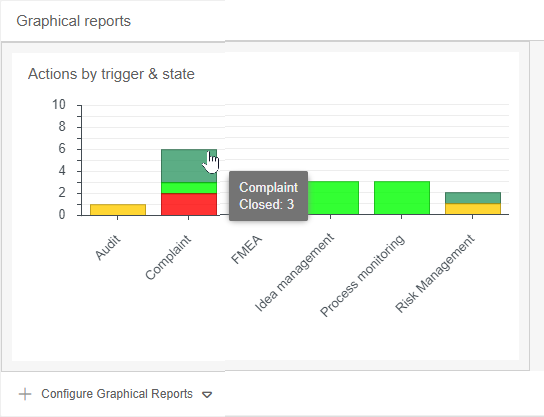
Window Graphical Reports
In the Graphical Reports window, scaled-down views of reports that have been saved as diagrams can be displayed.
To add a new diagram report to the window click <+ Configure graphical reports>. There is then a choice between User Specific and Global.
By selecting <User specific> you will first get a list of all graphical reports that are currently only displayed for yourself in the window.
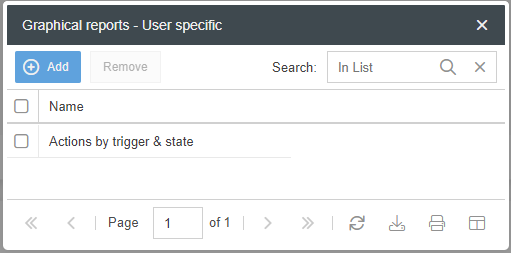
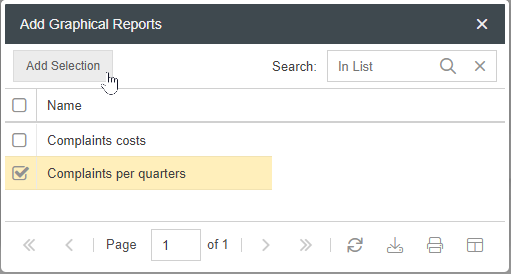
By clicking on the <+ Add> button, you will be shown additional saved graphical reports that you can display for yourself in the Graphical Reports window. Select the desired reports for display and confirm via <Apply selection>.
If you select <Global>, you will see the same windows as when you select User-specific. However, in this view, you will add charts to the Graphical Reports window, which will then show up in this window for all users of the system.
Users without this permission will only have the option to add user-specific chart reports to the window.
Additional options for saved reports
Once a report has been saved, you have additional options in the Reporting menu by <right-clicking> on that report:
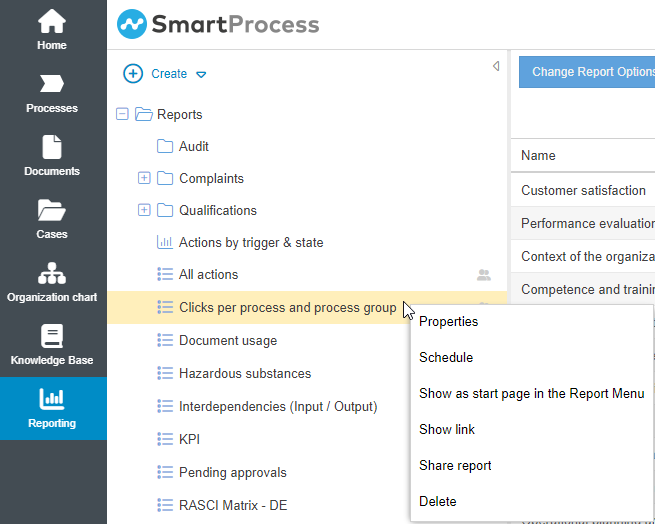
- Properties -> Opens a window where you can change the name of the selected report and set it to display as the home page in the Reporting menu. Also a signature is displayed when and by whom the saved report was created and last modified.
- Schedule -> The saved report can be sent by e-mail at regular intervals (see below).
- Show as start page in the Report menu -> Gives the possibility to define the saved report as start page in the Reporting menu for all users.
- Show link -> Each saved report can be accessed via a unique link. This option opens a window where the unique link is displayed and can be copied to the clipboard.
- Share Report -> Opens the window to share the saved report with other organizational units, roles and users.
- Delete -> The saved report will be permanently deleted.
Schedule
You can send the saved report to specific persons by e-mail at selected intervals.
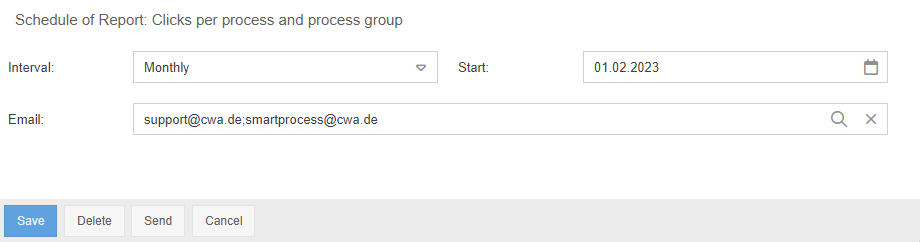
The start date sets the first day of sending the email. From this day on, the report will be sent regularly at the selected interval. One or more SmartProcess users can be selected as recipients via the magnifying glass in the Email field, and their e-mail addresses will be taken over. In addition, further recipient addresses can also be entered manually in the Email field, separated by semicolons.
The e-mail sent provides general information about the evaluation and contains the result list of the report as an .xlsx file in the attachment.
For saved reports for process and document data, the text module "Report dispatch - Processes/documents - E-mail" is sent.
For saved reports for case data, the text module "Report dispatch - Cases - E-mail" is sent.
Click <Save> to confirm that the saved report will be sent according to the schedule. Via <Delete> you prevent the schedule from being sent further on. With <Send> you can manually trigger the sending of the e-mail to the entered recipients for a test.
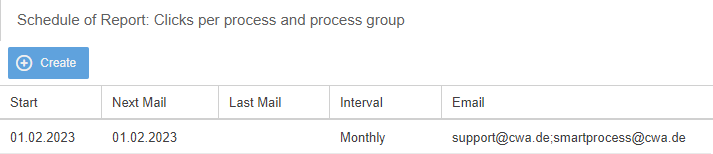
If you then right-click on the saved report again and select the "Schedule" option, you will be shown the currently active schedules.
How did we do?
Reporting for cases
Share reports