Table of Contents
HTML field
In different areas of SmartProcess, an HTML field is available that allows you to enter formatted text, images, videos, embedded content and links. You can find the field in the following places, for…

In different areas of SmartProcess, an HTML field is available that allows you to enter formatted text, images, videos, embedded content and links. You can find the field in the following places, for example:
- On the start page in the elements: title element, news and info box
- For descriptions of the object Task in process modeling
- Entries in the knowledge base
- As a multi-row formatable text field, such an HTML field can also be used for the design of workflow forms
Formatting options
The following functions are available in the HTML field for formatting text:

Function | Description |
| Allows you to remove the last changes you made or to restore any changes you have removed. |
| By using the quick access, the text can be displayed in bold or italics |
| The font type and size of the selected text can be changed |
| Allows you to select a color for the text from a provided color palette or to specify a specific color using a hexadecimal color code. |
| Allows you to choose a background color for the selected text from a provided color palette or to define a specific color using a hexadecimal color code. |
| Here you have the possibility to create numbered or unnumbered lists in different formats |
Other formatting options
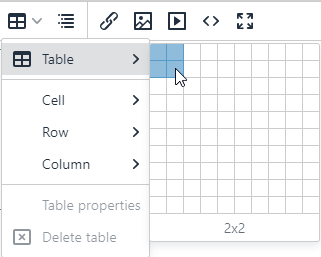
Table
With this function a table with up to 10 rows and columns can be inserted.
Within the table cells, all known functions of the HTML field can continue to be used, e. g. text formatting and alignment as well as inserting links and media.
Once the table is inserted, it can be edited as desired.
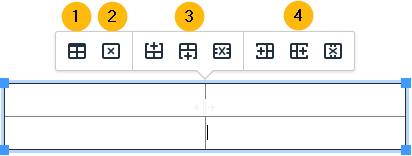
- 1) The properties of the table are opened. Here you can, among other things, change the alignment of the table in the field, set a border color and width or affect the size of the table in % or px.
- 2) The entire table is deleted.
- 3) A new row can be inserted above or below the currently selected row. Alternatively, the currently selected row can be deleted.
- 4) A new column can be inserted left or right of the currently selected column. Alternatively, the currently selected column can be deleted.
The overall size of the table can be influenced by dragging the blue squares. By positioning and dragging the mouse on the frame within the table, individual rows or columns can be enlarged or reduced.
Manage cells in tables
If you have selected one or more cells within a table, you can select additional options in the toolbar via the table icon -> Cell. These options allow you to modify only the selected cells of the table.
For example, several selected cells can be merged into one. With the button <Cell properties> you can also influence the size of the cells, the alignment of the content in the cells as well as the border color and background color of the selected cells.
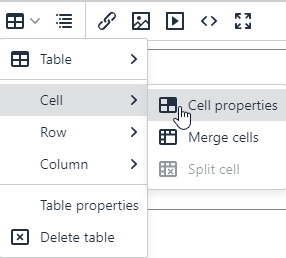
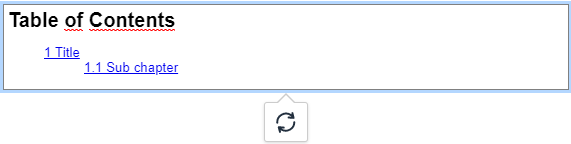
Table of contents
This function generates and manages a table of contents for the chapters in the HTML field. To add chapters and subchapters, the desired texts in the field must be formatted as Heading 1, 2 or 3 via Paragraph -> Headings (analogous to text processing programs, such as MS Word).
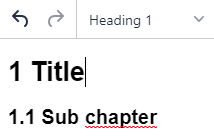
When the table of contents is then inserted, it automatically generates a list of contents with a link to the corresponding section.
Paragraph
The Paragraph drop-down menu contains various options for formatting the text:- Headings: Gives you the option of structuring the text using different heading formats
- Inline: The selected text can be formatted, including bold, italics, underline, superscript and subscript.
- Blocks: Gives you the possibility to differentiate the paragraph format
- Aligne: The text can be centered, justified, or left or right aligned in the HTML field
Text alignment
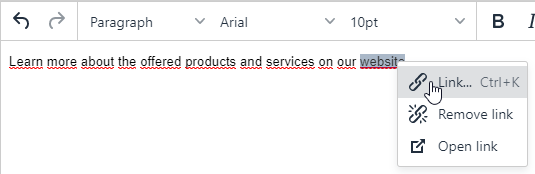
Via quick access a selected text can be left- or right-aligned, centered or aligned as justified text.Insert/edit link
This option allows you to insert text as links, for example to link to specific folders and reports in SmartProcess, knowledge base entries or external websites.
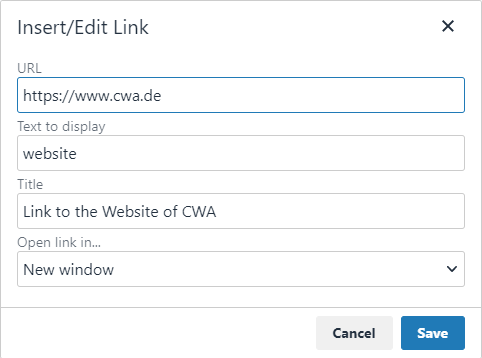
- URL -> Enter the link of the website to which the text should link
- Text to display -> Specify the plain text that the link should be hidden behind
- Title (optional) -> Here you define which text should be displayed to the user when he points to the link with the mouse without clicking it (tooltip on mouseover)
- Open link in... -> "New window" means that the link will open in a new tab of the browser. "Current window" means that SmartProcess is left and the linked website is opened in the same tab instead.
Insert document oder process
A selection window allows you to insert links to published documents, processes or process groups into the textInsert/edit image
There are several ways to insert an image into an HTML field:
Button <Insert/edit image> | A window opens with the following options: 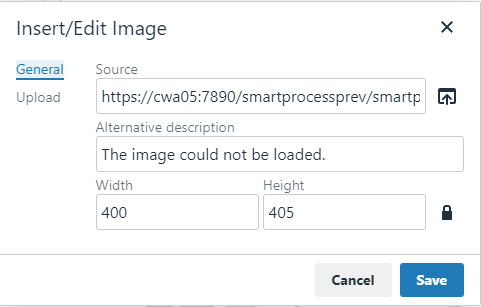
|
Paste from Clipboard | If you have copied an image to your clipboard, you can paste it into the HTML field with the shortcut <CRTL + V> If a very large image is added in this way, it will be scaled to a maximum width of 600 pixels. |
Drag & Drop | You can drag and drop an image from a drive folder into the HTML field If a very large image is added in this way, it will be scaled to a maximum width of 600 pixels. |
Change images subsequently
After the image has been inserted, you can resize it by selecting the image and then dragging it to the desired size.
To edit all properties of the image afterwards, double-click or right-click on the inserted image or select it and click the button <Insert/edit image> in the HTML field again.
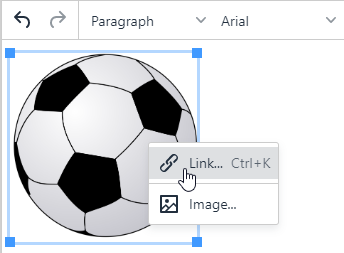
Images with links
With a right click on an inserted image, you can store a link that is called up by the user when he clicks on the image. The options for setting the link correspond to the section " Insert/edit link".
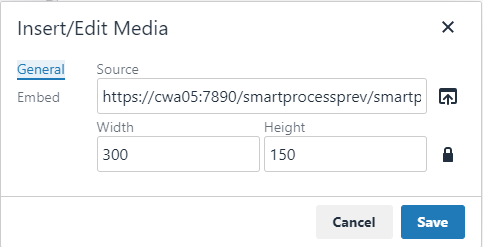
Insert/edit media
When you click on the button, the following window opens.
Upload videos and music from the drive
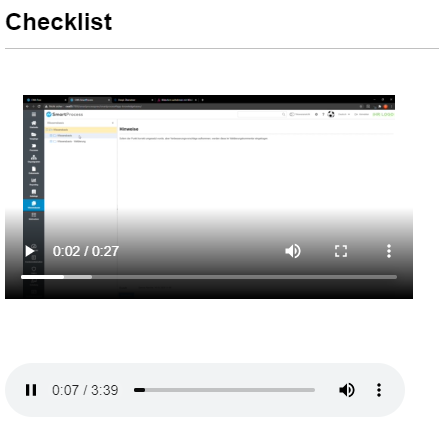
The tab "General" allows you to upload videos or music from your drive and insert them into the HTML field.
To do this, click the button next to the "Source" field and select a file from the drive.
By specifying the width and height, you can determine the size of the video/audio player that is initially displayed in the HTML field. Using the control options of the video player, you can then switch to full screen mode, adjust the volume or download the video/audio file at any time.
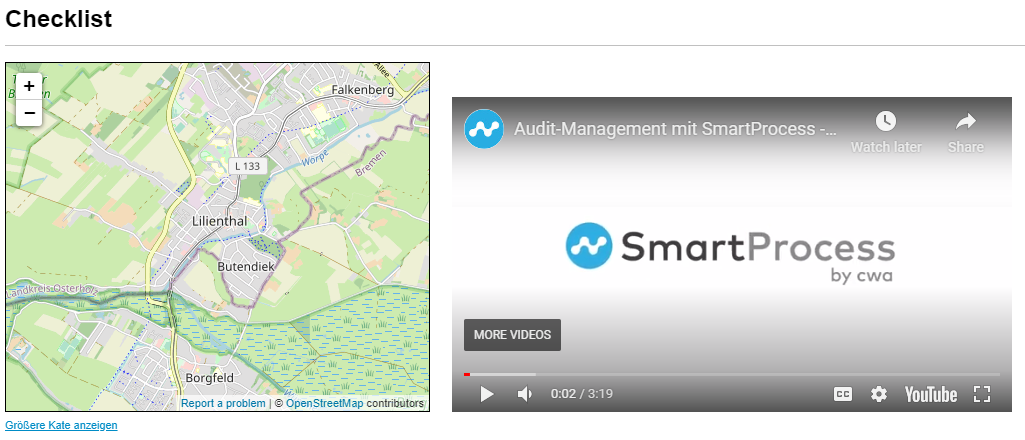
Inhalte von anderen Websites einbetten
Use the "Embed" tab to integrate interactive content from other websites into the HTML field. For example, interactive map material (Google Maps, OpenStreetMap) or videos from portals (YouTube, vimeo) can be inserted.
The respective providers often offer such an embedding code on their websites. You then copy this code into the corresponding field in SmartProcess.
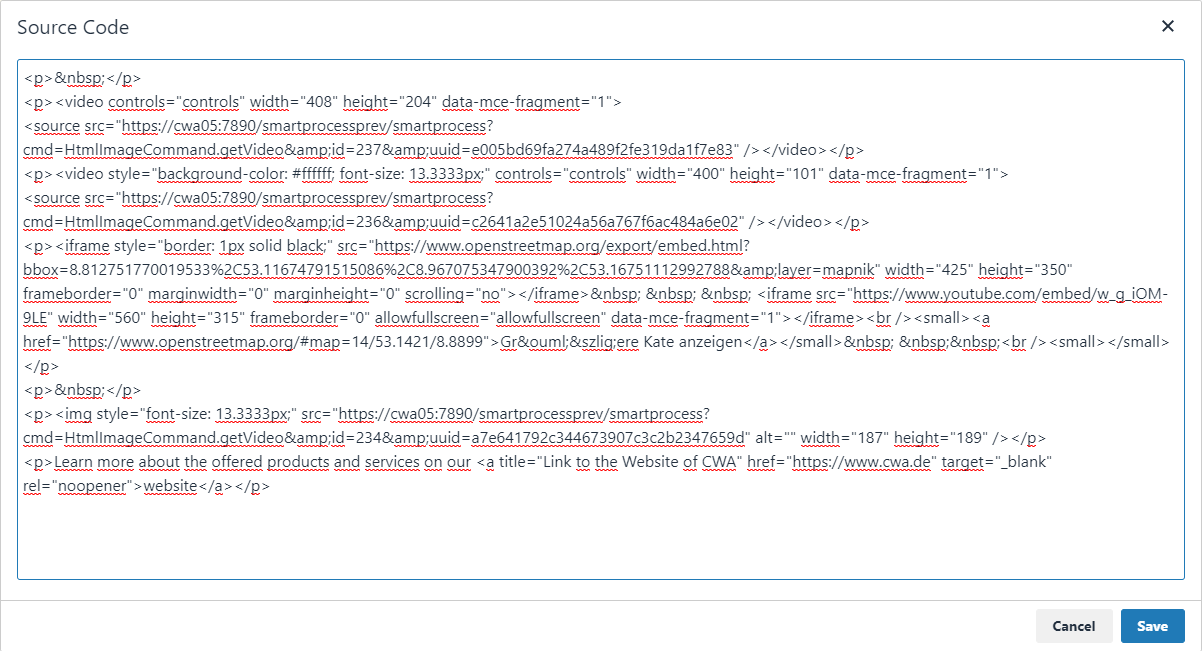
Source code
The added texts and media represent HTML code. If you have appropriate knowledge of the HTML programming language, you can use this button to display the source code of the HTML field and change it manually if required.
Full screen
Use this button to enlarge the HTML field to the full size of the screen for editing purposes. Another click on the button takes you back to the original size of the HTML field.
How did we do?
Mobile Web App
Contacts