Table of Contents
Manage Wikis
In the Wiki menu, the internal company knowledge on any topic can be stored in any folder structure. This can be used, for example, for business processes or documents that do not need to be revised…

In the Wiki menu, the internal company knowledge on any topic can be stored in any folder structure.
Navigation area - Edit Wikis
There are 3 different levels to work with in the Wiki menu:
- Wiki level -> Several Wikis can be created for different topics (e.g. a Wiki for tips & tricks for different softwares and a Wiki as an internal company wiki).
- Category level -> Each Wiki can be divided into categories / folders. Any number of folders and subfolders can be created within a Wiki.
- Item level -> Any number of items can be added to the individual categories and subcategories. An item contains the knowledge to be stored, e.g. in the form of text, images, tables and links.
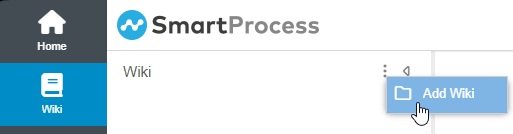
After the installation of the system for the, there is initially no content in the menu. You can create your first Wiki via the three points in the navigation area:
In the following window, the name of the Wiki can be assigned. In addition, it can be determined whether the folders/categories and the entries of the Wiki should be named as specified by SmartProcess or whether own names should be chosen (in the example category => area and item => article).
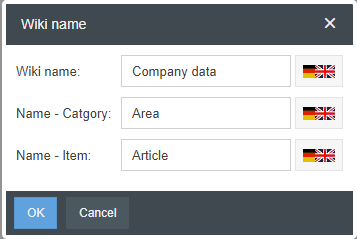
By clicking <OK> the Wiki is created.
To create new categories and items you can either right-click on the Wiki (no. 1 in the following screenshot) or click the corresponding button in the list view (no. 2).
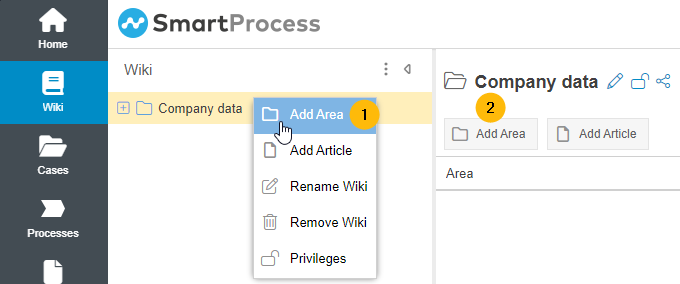
In this way, any number of areas (= category/folder) can now be created, in which various articles (= items) with the content/knowledge are then recorded. The navigation to the articles can be done afterwards either via the tree structure or the list view.
Existing items can be moved to other categories and Wikis via drag & drop.
To search for articles in the Wiki, use the full-text search in the application header.
Edit items in the Wiki
For Wiki items, a title can be entered for each activated system language, under which the item is listed in the navigation area of the menu.
If you open an already existing item, it will be displayed read-only at first and can be modified via the <Edit> button, if the user has the corresponding authorization.
In the content area, the text of the item can be entered in an HTML field. This offers you various options for formatting and embedding content. The content can be entered in all activated system languages. To switch between the languages, buttons are available next to the field.
The light bulb symbol on the button of a language indicates that no content has yet been entered in the field for that language.
The buttons at the bottom of the window offer you the following options:
- Save -> The item is saved and you can continue editing.
- Save and close -> The item is saved and you exit the editing mode. The item is displayed in the read-only view.
- Add document -> You can add one or more files from your drive or files from SmartProcess documents to the item. The added files are displayed at the top of the Wiki item.
- Delete -> The item is completely and irrevocably deleted.
- Back -> The editing mode is left. If changes have been made to the item, a warning is displayed that all unsaved changes will be discarded.
Read and edit rights for the Wiki
Categories and items in the Wiki can be restricted so that only certain user groups can see or edit them. There are various settings that interact with each other.
1 - Authorization profile
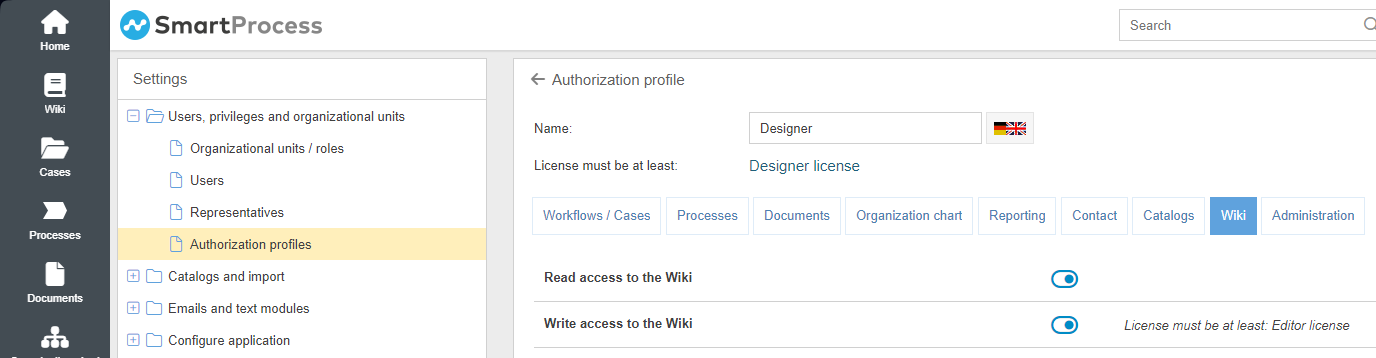
Authorization profiles are used to assign general authorizations for specific user groups in SmartProcess. In the Catalogues tab, there are also settings for the Wiki menu:
- Read access to the Wiki -> If this is set to Yes, a user with this authorization profile generally has the right to see categories and items in the Wiki.
- Write access to the Wiki -> If this is set to Yes, a user with this authorization profile generally has the right to create or modify categories and items in the Wiki.
2 - Rights per category / item
By the assigned authorization profile (see 1.) some users have general reading or editing access to the Wiki. In the menu Wiki it is now possible to define more precisely for individual categories and items which Organizational unit from the organization chart should have read or edit access to these categories.
Users with the necessary settings in the authorization profile can see or edit all categories and items in the Wiki, unless other rights have been explicitly assigned per category or item.
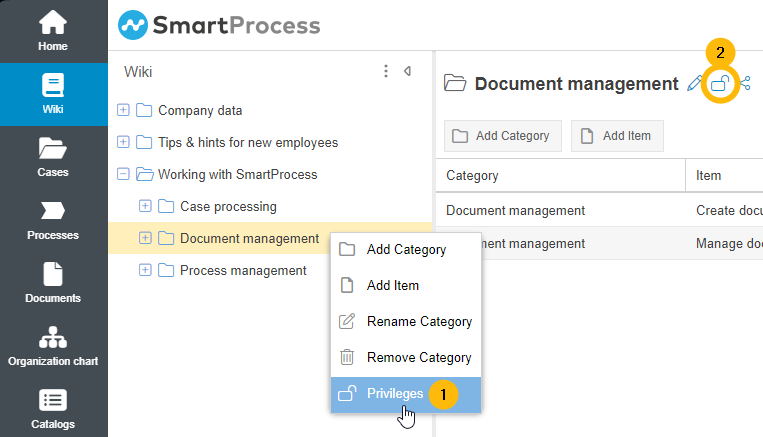
To edit the access rights for a category, you can either right-click on the category in the tree structure (no. 1) or click on the lock icon in the list view (no. 2).
The rights window opens, in which you can first determine whether you want to adopt the rights from the higher-level categories for this category or assign your own rights for this category.
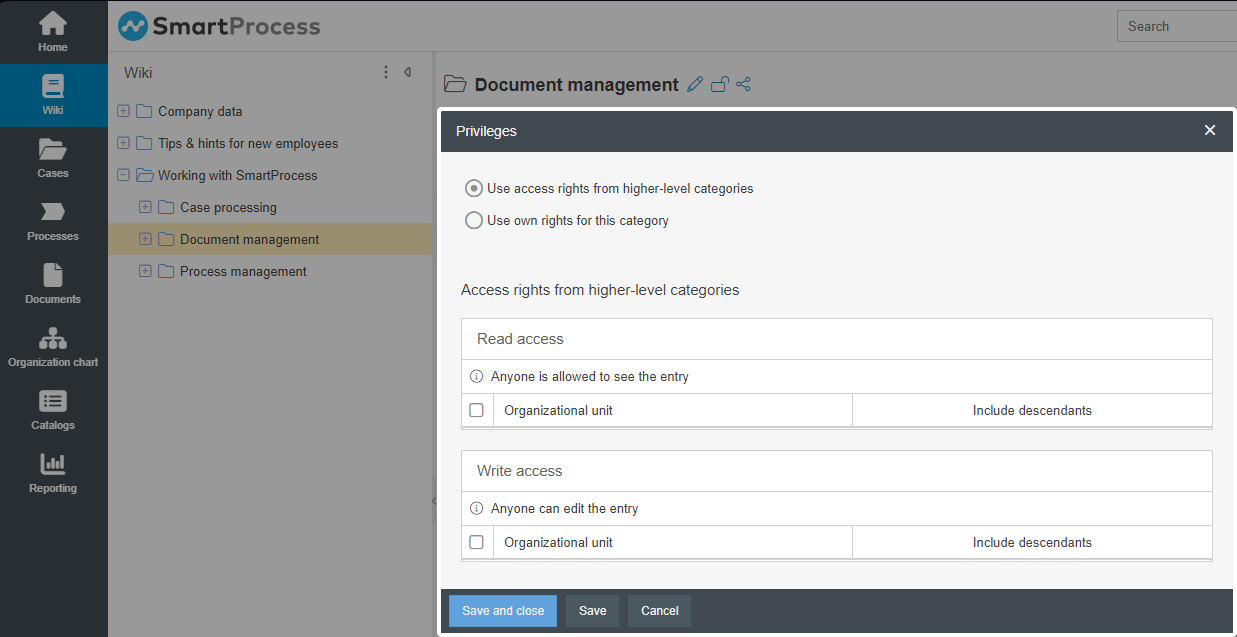
Use access rights from higher-level categories (default setting) | With this selection, the rights assigned for the higher-level categories are displayed read-only in the bottom area of the rights window.  In the example, the rights of the category "Document management" are edited. The read-only displayed rights therefore originate from the higher-level category "Working with SmartProcess". From this view, it can be seen that for the higher-level category, it is specified that everyone can see and edit the category. So, by inheritance, any user can also see and edit the "Document management" category (e.g. create, edit or delete categories/items in it). This option is set as default when creating all categories and items. |
Use own rights for this category | If you do not want to apply the permissions from the higher-level categories and select this option, you can assign read or edit rights to specific organizational units from the organization chart in the bottom part of the rights window. 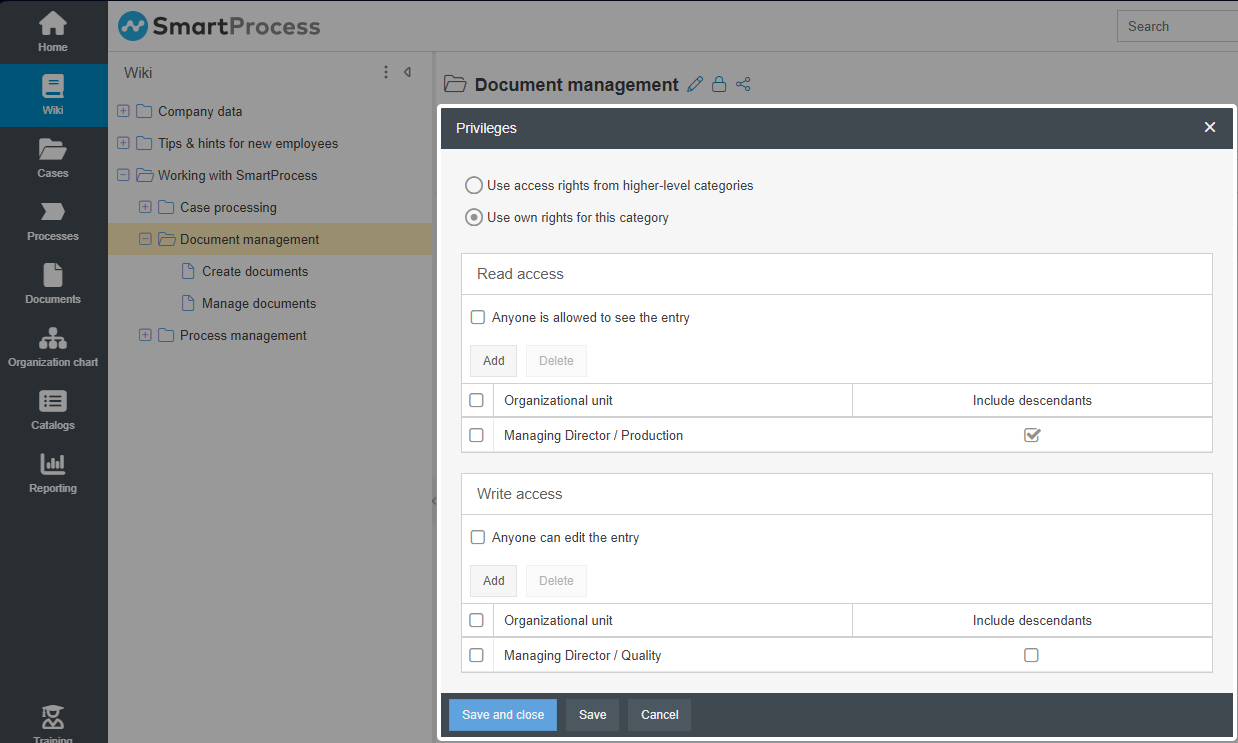 If you assign editing rights to an organizational unit, it will automatically receive reading rights as well. In the example, activating the checkbox Include descendants has the effect that, in addition to the production department, users of organizational units located below production in the organization chart are also allowed to see the category (this function is the same as for read and edit rights for processes). In the example above, this means the following for the rights:
If you are about to withdraw the editing rights for a category or item from yourself, the system will display a warning message when you try to save.  |
In order for users of an organizational unit to be able to see / edit certain subcategories in the tree structure, the organizational unit must also have read / edit rights for the higher-level categories up to the top folder.
How did we do?
File attachments in SmartProcess
Use QR codes with SmartProcess